I have not explored all the ways wool fibers can be felted into silk - or what kinds of silk - but judging by today's self-taught class - I'M LOVIN' IT!!!

I started with the ribbon strips that will be felted onto my silk shawl. The ribbons are a gorgeous chartreuse silk with wool of the same color. I took a photo of the items all rolled up. Once all the materials are wet down, I roll them into a "jelly roll." I then will roll this jelly roll back and forth 300 times. I stop between every 100 rolls, realign pieces, roll it all back up and keep rolling.

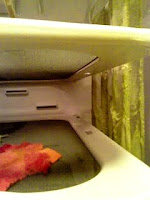
My next photo is the ribbons completed and soggy. After rolling, which takes about 1/2 an hour, you unroll it all and "full" it. Fulling is the process that realigns the wool fibers and completes the felting process. Fulling is fun! It's my new "aggression" therapy because you get to whack and throw this wet soggy mess all over the place! Yeah baby! For those of you who need to play it safe (and you know who you are), you can put the soggy material into a gallon zip lock baggy. But, it's more fun the other way. Then, I hung them in a dryer to dry.

When I get back to town, I will finish felting the ribbons onto my silk shawl. Taking photos along the way. (So those are yet to come.)

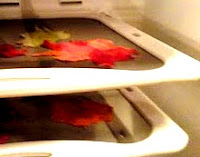
Something else I started that same day, were the felted flowers for the shawl closure. These were easy. I used a much smaller jelly roll set up, but I think I could have done these by hand (without bubble wrap, etc.). But I've got a picture here of them felted and in the dryer.

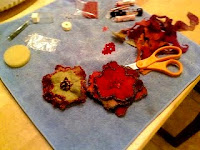
My next photo is my beading mat set up.

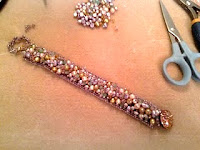
And, finally, a photo of the finished flower. They are gorgeous - about 2 1/2 to 3 inches across. I beaded the edges, sewed a pin back on, covered that with a piece of spare felt, and beaded the centers with Swarovski crystal. Gorgeous.
Yes, the flower will be a class. The shawl will be a workshop. I have ordered the wool tops and they are on there way as we speak. I have also ordered embellishment fibers like silk tops, silk throwster's waste, craft sequins, and much more!
Stay tuned for more creative crafting, instructions for all, class and workshop offerings and new store items.


